A New Glasses Case

Tags

,

Do you ever feel the need for some instant gratification when it comes to your sewing? I know I do. I was recently searching for a quick project to start and finish and came across this cute little glasses case that fit the bill perfectly. I have one of those hard glasses cases that does a great job but once in awhile when I’m just going for a stroll to the local bistro or to Chapters for a browse for my next read I like to be able to slip off my glasses and put them into my pocket. That hard case is just a little too big and bulky to both carry and slip into a pocket and just putting my glasses into my pocket isn’t great protection from scratches.

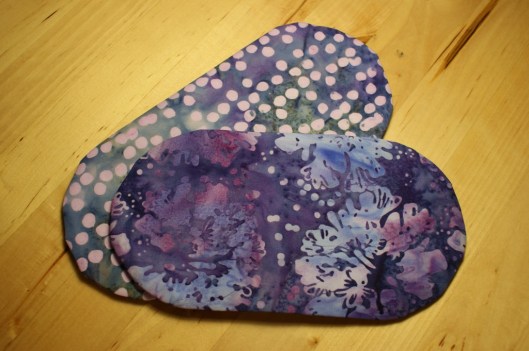
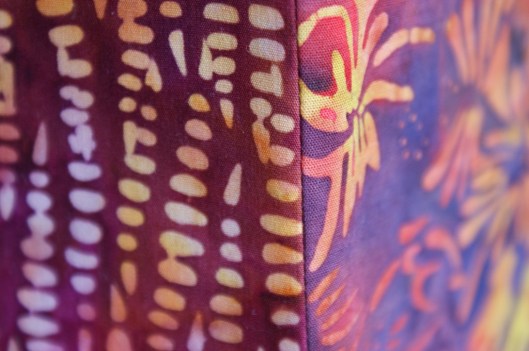
I chose two coordinating batiks from my collection for the project.

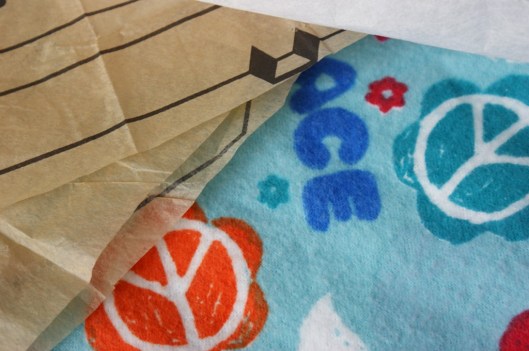
I’m sorry to say that I don’t remember where I got the pattern from. The pattern pieces however are simple. Both the same shape, one only slightly shorter than the other. Here are the cardboard pieces I cut out from the pattern.

For those of you who would like to make this easy pattern simply cut two rectangles. The first is 9″ X 4 3/4″. The second is 8 1/4″ X 4 3/4″. The circular ends are created using a compact disk. Trace the disk and cut off the excess.

From the pattern pieces cut one each of each of your co-ordinating fabrics and the batting. Lay the batting on your work surface, place the lining right side up and the fabric right side down so that the fabric and lining are right sides together. Using a 1/2″ seam sew all around the edges leaving an opening to turn right side out. Do the same with the smaller pieces. Place the two elements together lining sides in, baste, and blanket stitch with six strands of embroidery floss. Et voila!

Et voilà!

Advertisement

Baby Quilt

Tags

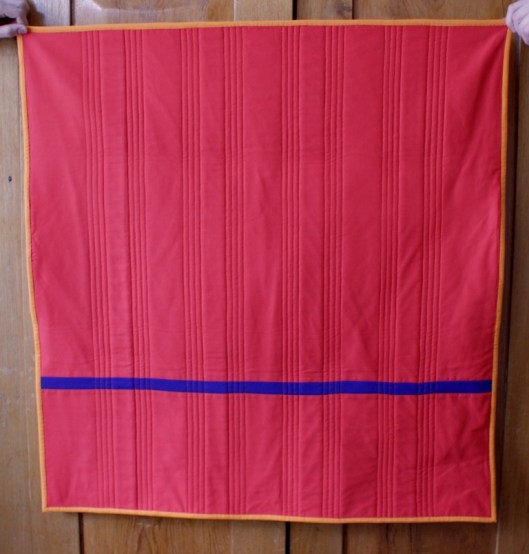
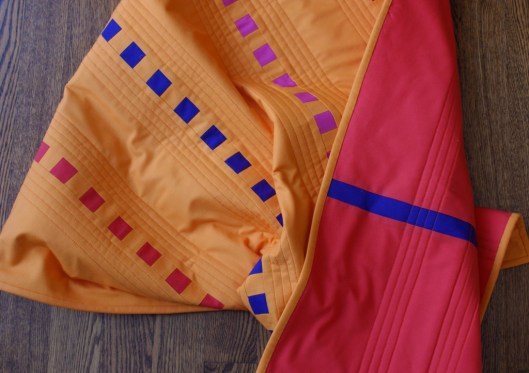
Back in the fall I finished this quilt for a neighbour’s first grandchild, Logan. I was in a bit of time crunch so decided I would like to make a stroller blanket rather than a full crib size. There were lots of baby girl prints to choose from at the store but acquiring enough variety for a boy’s quilt was a little more difficult. I wanted something bright and fun.

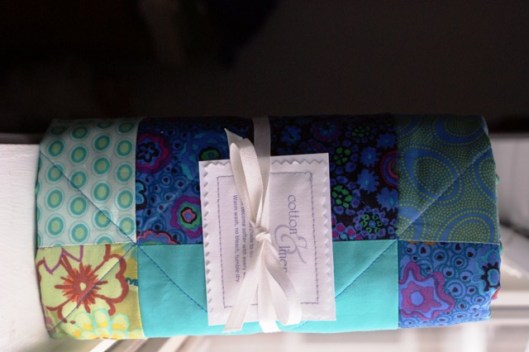
Each of the squares are 5.5″ finished with 25 blocks altogether. For a simple contrast I machine sewed lines diagonally from corner to corner. Painters tape does a wonderful job of keeping my lines straight.

Since this quilt was a gift for a new mom I needed a little tag to add. I looked around the net for some good ideas for quick and simple tag ideas. I made this tag by taping some plain white cotton to a piece of paper and running it through my inkjet printer. A little crooked in spots but that adds to the charm don’t you think?

Cheers!
hi.a.tus

Hiatus  –  an interruption in time or continuity; a period when something (as a program or activity) is suspended or interrupted.

I have been MIA for almost an entire year now. The beginning of my hiatus can be traced back to an illness that put me down for over six weeks and by the time I emerged out the other side listless and fatigued my sewing mojo had up and moved out. They do that now and then you know. Well this mojo didn’t return for a long, long time. I was beginning to wonder if it was ever coming back. But come back it did and it is time to get on with the business of getting on.

In that almost-year that I was in hiding I was able to do a lot of thinking. And listening. A new Cotton and Linen is slowing taking shape and will be emerging over time. Let’s not rush things now, shall we?  But for starters I’ll just pick up where I left off and grow from there.

See you tomorrow!

Cozy Cube Reprise

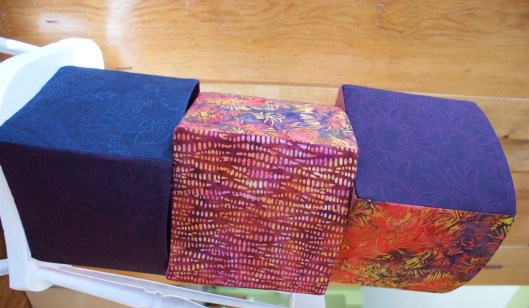
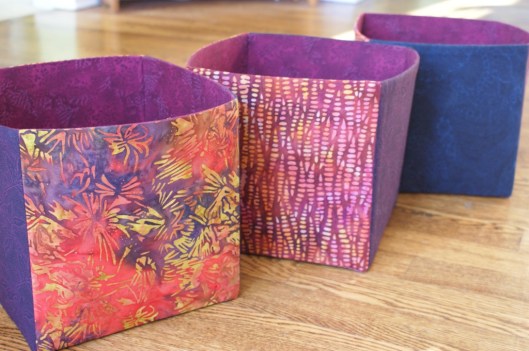
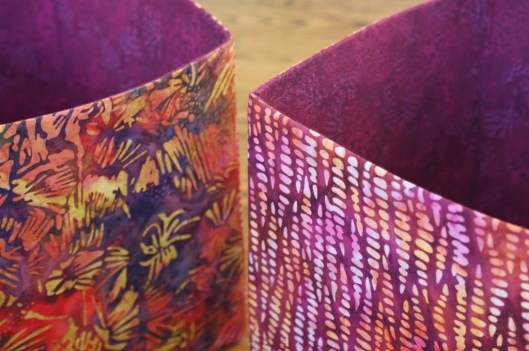
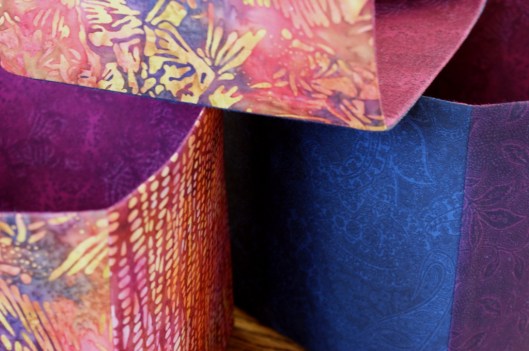
Remember that cozy cube from Anna Maria Horner’s “Seams to Me” that I made way back here? Well my daughter liked it so much she thought she’d like some for her apartment. Her bedroom is sadly lacking in closet space (what else is new, girls?!) and she needed someplace to put her underthings since she doesn’t have a dresser. I made four large boxes. She chose four different fabrics plus one extra for the inside. Each box sports each of the fabrics on the sides. I mixed them up a bit so no two are the same. One has already gone off to university with her but here’s the other three.

Lot’s of hand-sewing on the bottoms on these. I’m ready to get back to the machine!

Finished Quilt Along

Tags

, ,

Well, I finally quit procrastinating and finished up the Cherry Hill Quilt Along quilt. I’ve made a few attempts in the distant past at a quilt but this is the first one I’ve seen through from beginning to end.  It is not a perfect specimen by any means but a good start.

Tomorrow we head for the ski hills of Quebec. It’s our March Break here and the weather is beautiful.

à bientôt


Coffee Break

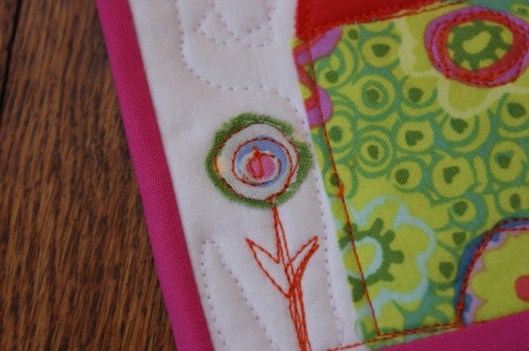
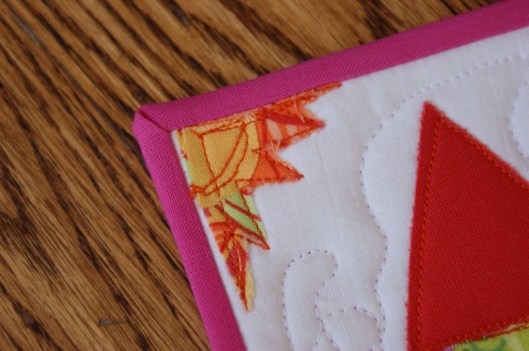
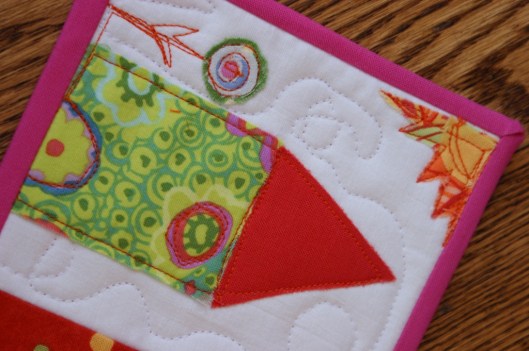
After feeling bogged down with too many projects on the go and none of them to completion I decided yesterday that I needed a dose of satisfaction that comes from starting and finishing a project in just one day. I’ve been seeing these Mug Rugs in several creative versions all over blogland and decided it was time to make one for myself. This little gem was put together from scraps. I didn’t really do any planning just cut a few pieces, pinned them onto a white rectangle of fabric and started sewing. I didn’t even bother changing the colour of thread in my machine. Just used what was there.

The scrap of batting that I used for the inside determined the size of 6.5 inches by 4.5 inches. I experimented with two new techniques that I’d never done before: free motion quilting and binding. The results were amateurish but resulted in a pleasing rustic effect.

These would make terrific little gifts and would even travel well in the mail. I may just put those projects off a little longer and make some more.

Cream or sugar anyone?


Welcome Spring?

I was awakened this morning to the sounds of beautiful music. A harbinger of spring? I won’t get my hopes up just yet as it is still only February but at +7 degrees I welcomed the renditions that were offered up by my feathered friend. I apologize for the clarity of the picture but he was perched far from my window.

There has been much sewing of late but no finished products to show off so I will present some ongoing projects as a hint at things to come.

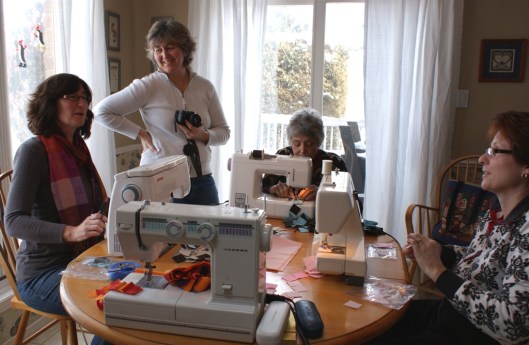
I told you about the Cherry Hill Quilt Along that I’m participating in. There are five of us that gather on Friday mornings to work our way through the weekly instructions that are doled out. So far we have cut our pieces and done some piecing. Here are some pics of the progress…

That’s Astrid on the left.  Next is Pam, our host, from MadAboutPatchwork. Then Millie and Sandra. Yours truly is behind the lens.


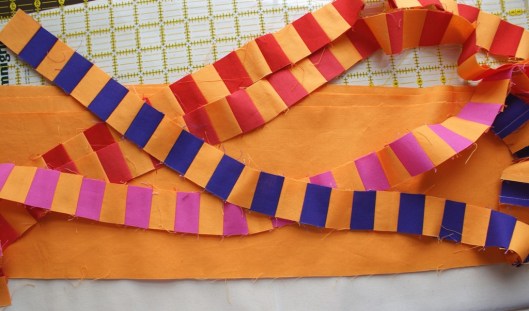
Above are my columns ready to sew together.

Here’s a few more tidbits to tantalize…

And finally some new fabric to add to my growing stash.

I have a house full of company on the way. I’m very excited!
Have a great weekend!


Learning to Read

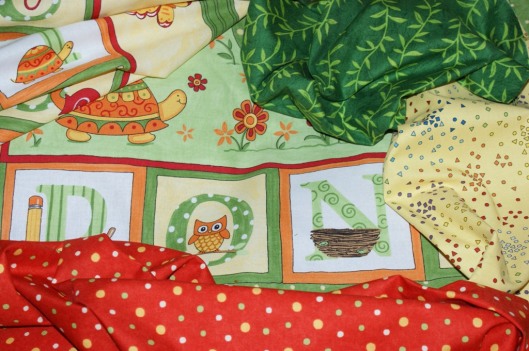
This delightful little alphabet book I made as a gift for a young man near and dear to my heart. The moment I found it I knew I would make it for him. I discovered the pattern over here at Moda Bakeshop. I searched high and low for an alphabet panel that I could use for this project. Imagine my delight when I came upon the exact panel at my quilt shop. It was on clearance so I was just in time or I may have missed it. You can follow the complete directions in the tutorial but I will show you some of my step-by-step.

Since the panel was on clearance the store did not have any of the original charm pack that was used as contrasting fabric. I was able to find a few fabrics to complement the panel and had a few Kona solids in my stash to fill it out a bit. The original book was made with 26 charm squares which afforded a different backing on each and every letter. I did not have that luxury.

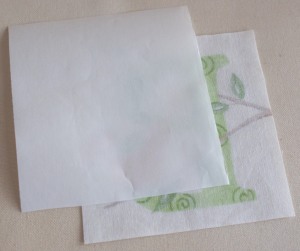
After cutting out all the individual letters I cut squares of paperbacked fusible webbing to sandwich between the letters and their contrasting backing squares. Each letter was matched with a pleasing backround and zig-zagged onto the fabric.

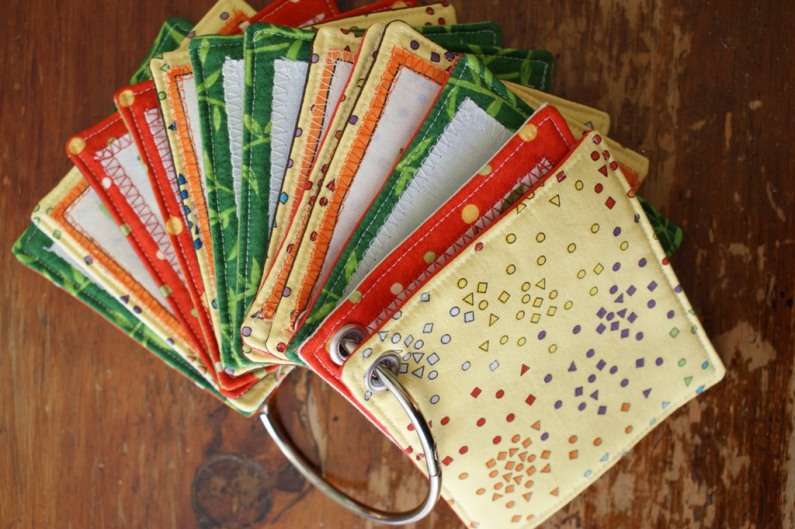
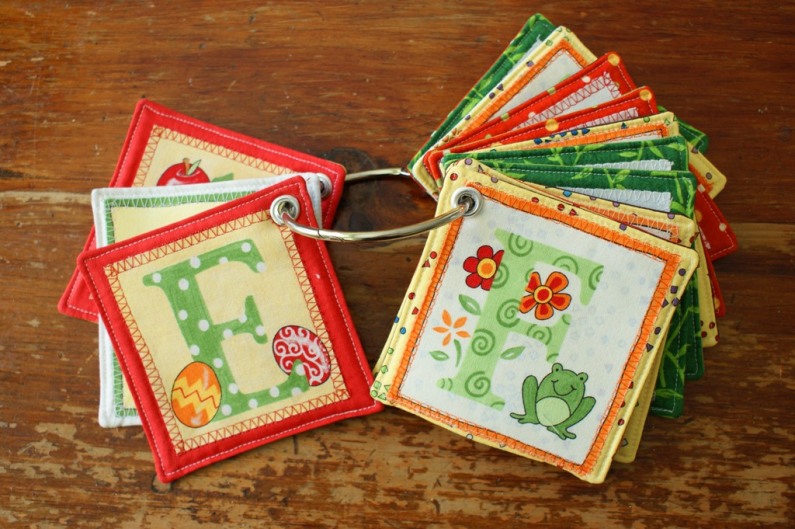
The final step was to hammer grommets into the corners of the letters. This requires cutting a hole in the spot where you need to insert the grommet. I was aghast at the thought of piercing the fabric. Once all the letter blocks have their grommets they are put onto a large ring for the little guy to carry around. I’ll be presenting this little gift to my muse tomorrow night. I hope he likes it!

My Muse…
…isn’t he a cutie-patutie?!

Pretty Little Pouch

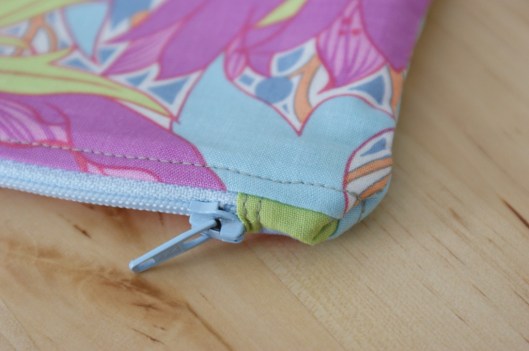
Today I made a lined, zippered pouch that can be used for cosmetics or anything else you might be inclined to carry in it.  I found this pretty little pouch tutorial by Florence over at Flossie Teacakes. I liked this one for a number of reasons. First off and most importantly, the instructions were very clear, right down to the minutest detail. Not to mention her playful side throughout. Secondly I liked that this bag was lined. And finally, I love the little tabs at each end of the zipper. They hint at a little surprise on the inside. It makes for a very clean and professional finish.

Wait for it… here comes the surprise inside. I love the contrasting fabric. And why shouldn’t the inside be just as pretty as the outside? Well I say – It Should!

Have a great day!

Join the Quilt Along


I’m joining in the Cherry House Quilts Quilt Along starting in February. There are four colourways to choose from or you could make up your own. I’ve chosen the bright orange for my quilt. The schedule and shopping list are posted here at Cherry Hill Quilts. Mad About Patchwork has put together quilt kits for all four colourways. You can order them here. I’ll be joining some friends to make this a fun project. Watch for our progress.